

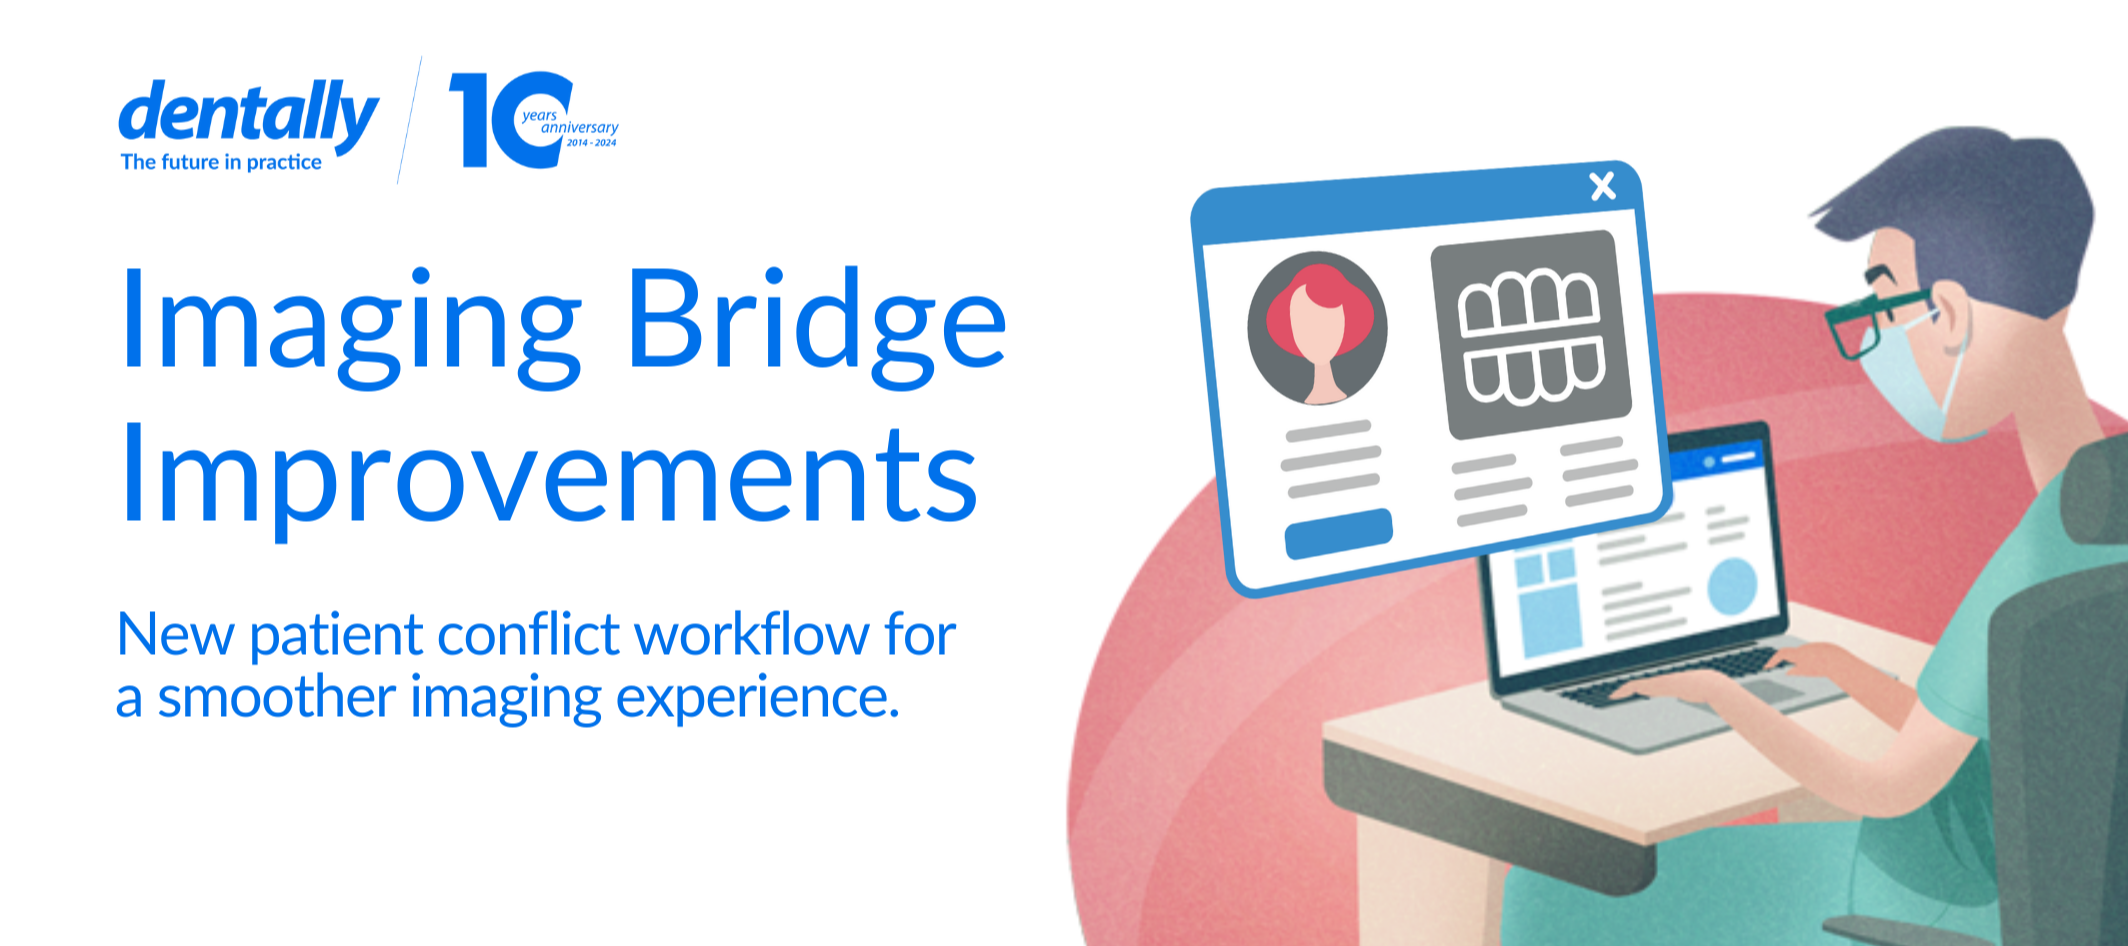


The Dentally imaging bridge has had a bit of an upgrade and to make sure you are in the know on how to use the new workflow we wanted to provide you with some insights into why we have made these changes and some step-by-step instructions highlighting the new patient conflict workflow.
How the imaging bridge works 🩻
The imaging bridge Chrome extension is a very simple application, that is designed for you to quickly open and view images for a patient. It uses the patient ID stored within Dentally and then pushes that information through to your local DI software.The imaging bridge will then open the images in the linked third-party DI software based on this patient ID.
If you see patients at multiple locations, we always recommend you verify the patient’s name and details in the imaging software that the bridge opens to ensure you are viewing the correct record.
Why have we made these workflow changes 🤔
Recently, we have become aware that some practices may not be verifying the patient details of the images opened via the bridge. Since the imaging file opened in the DI software is controlled locally by the DI software and not by Dentally, it is essential to double-check that the images match the patient you are seeing.
To enhance this process, we have introduced a new workflow. If a potential conflict is detected - where the patient in Dentally and the patient identified by the third-party DI software do not match - you will be prompted to verify and confirm the patient name match.
For more information on why these new workflows have been introduced take a read of our Imaging bridge FAQ's over the help centre.
New workflow process 🚀
The new workflow has a few more steps than before but ensures that any conflicts are dealt with as early on in the workflow as possible.
The new workflow is as follows:
- Open the imaging bridge.
- Bridge detects any overlaps.
- You are prompted to verify the patients images.
- Create new folder for any overlaps.
- Continue to process images
For a detailed step by step overview take a look at our handy help guide here.
Its important to note that to benefit from these updates to the imaging bridge you must be on the latest version. Please speak with the support team for further assistance.
Best practice tips ✨
To minimise patient safety issues here are a few best practice tips to keep in mind going forward when using the imaging bridge:
- Double check your images. Take two seconds before acquiring an image and re-radiating a patient to confirm the images that have been opened via the bridge are in fact the current patients.
- Familiarise yourself with the patient conflict workflow. The workflow outlined above can be viewed in details with full video instructions over on our help centre here. We recommend bookmarking this guide for easy access should you need it. *insert link
- Be comfortable with troubleshooting any issues. Try as we might to offer work around solutions, when running a busy practice we understand that some patients can still slip through the net. When this happens and images do end up assigned to the wrong patients its important to resolve this issue as soon as possible! Read our troubleshooting patient conflicts guide here and remember to bookmark this one to! *insert link
Further guidance and advice 💡
We are committed to ensuring a safe and efficient experience for both you and your patients, and this step towards a more secure imaging workflow will help us deliver on this commitment.
Thank you for your continued trust in our services and remember Ellie Bot and our dedicated support team are available via Live Chat to support any questions you have around this new workflow.