
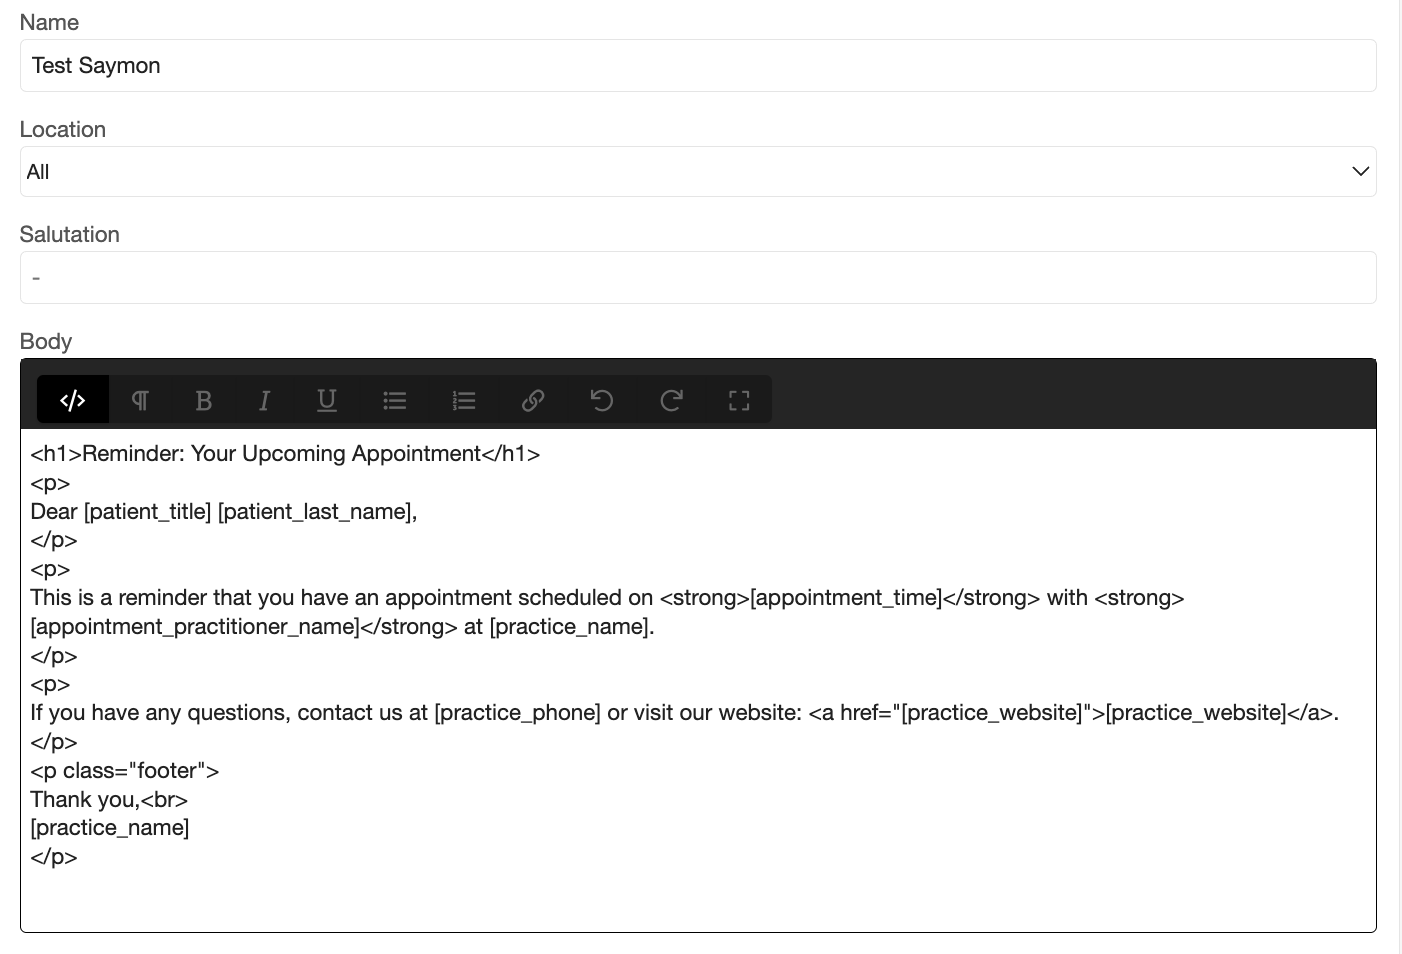
Any pointers on creating visually appealing html email templates in Dentally? I’ve tried pasting in some basic html email templates but the styling gets thrown out when I toggle between code view and the visual editor.


Hi ​@MC Maryanne 


When you say you’ve tried pasting some basic HTML email templates, do you mean into the Body box using the </> (HTML) toggle, like this? 👇


If you’re pasting an HTML email template into the Body box using the </> (HTML) toggle, that does work, including basic inline styles like:


<p style="font-size: 16px; color: #0077cc;">
Hello </p>


If you want to change overall styles (like default fonts or spacing across the whole template), you can also use the “Edit template styling” box at the bottom


Let me know if it’s clear and if you need additional help. I’m happy to write a few templates for you! 😊


Hi Saymon

I really appreciate your reply. I’ve been able to make a little progress with emails and I now have my images in the email (Hooray!) Do you have any pointers for the best way to change the background colour of an email in Dentally?

The edit template styling that you’ve referenced seems to only be available in the Letters section. Speaking of Letters, do you know if there’s a way to edit the header of letters for specific templates? I want to create a “form” that has a different header to the standard logo + company details. If you’re not sure, no stress. I just thought I’d ask! :)

Cheers

Maryanne


Hey ​@MC Maryanne  😊, great news on getting your images in place! Here are a few pointers to help with background colours in emails and custom letter headers:


1. Changing an email’s background colour

Dentally’s email editor only supports HTML code in the body, so you’ll need to wrap your content in a full-width block (a <table> or <div>) with inline CSS for background colours. All styling must live in style="…", since <style> blocks aren’t preserved in emails  (and you manage these under Settings → Templates → Emails  ).

Here’s a quick snippet you can paste into the Body via the </> (HTML) toggle:

<table width="100%" cellpadding="0" cellspacing="0" border="0" style="background-color: #f4f4f4; padding: 20px;">
<tr>
<td>
<p style="font-size: 16px; color: #333;">
Hello ;patient_first_name],<br>
Welcome to our practice!
</p>
<!-- …rest of your content… -->
</td>
</tr>
</table>

You can change the colours of this section by simply editing the # in “background-color:” with another hex key like Dentally’s blue #0071eb. Check out this website to find all the different hex keys. 


If you prefer a narrower coloured section, swap the table for a <div>:

<div style="background-color:#eef2f7; padding:15px;">
<!-- content here -->
</div>


2. Customising a letter’s header per template

By default, letter templates pull in your practice logo and details from Site Settings → Options → Logo/Name & Address  . To override this for just one template:


  • Use a “No header” base template:

    1. Go to Settings → Templates → Letters.

    2. Click New Template and, under Copy existing template, choose one of the “No header” options.

    3. In the Body (or via the Edit template styling CSS box if you’re comfortable with CSS), insert your own header HTML (e.g. a custom <img> logo and contact info in a table).

    4. You may need to tweak the page margins at the bottom of the edit screen to fit your design. Happy to help you with this if you’d like! 


3. For more complex “form” headers, use Word document templates

If you need precise layouts (e.g. multi-column forms or pre-printed headed paper), build your header in Microsoft Word, add Dentally data tags, then upload under Settings → Templates → Word Docs. When you generate a letter as a Word doc, your custom header stays intact alongside merged patient data  .


Hope this helps! 😊


Reply